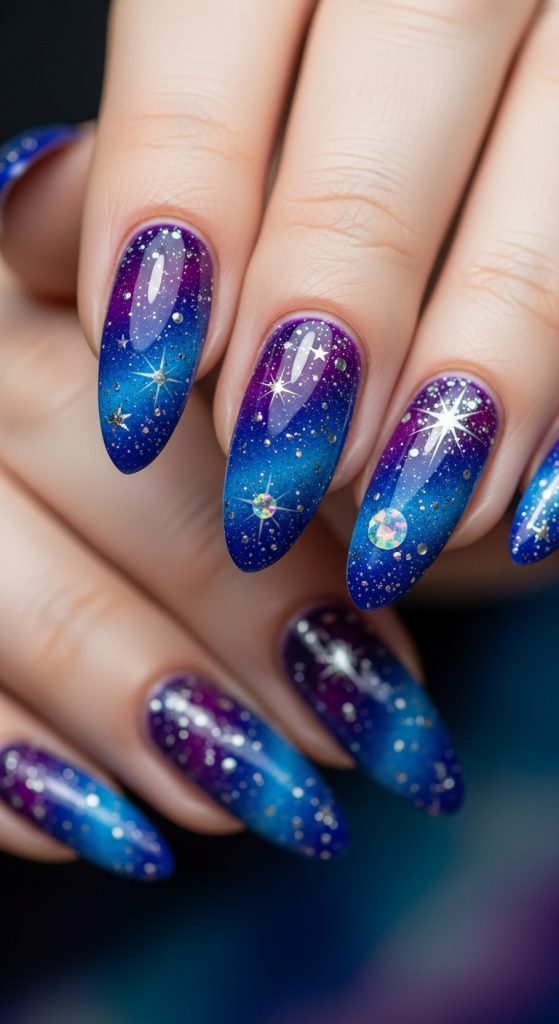
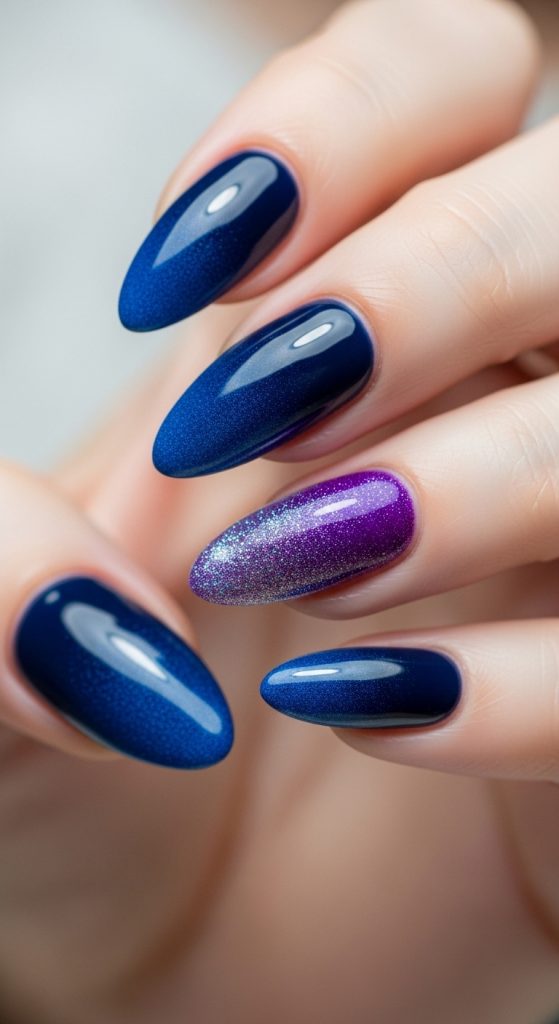
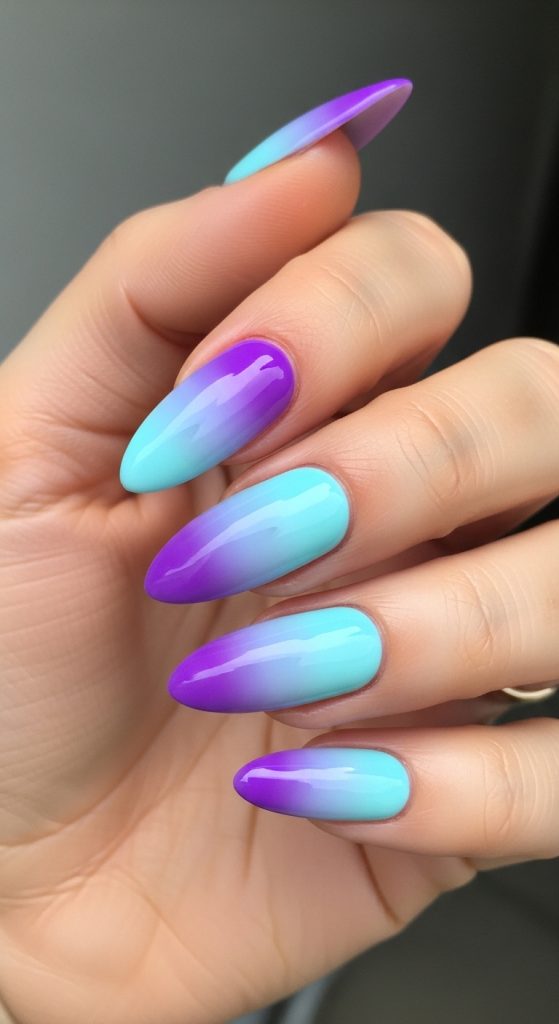
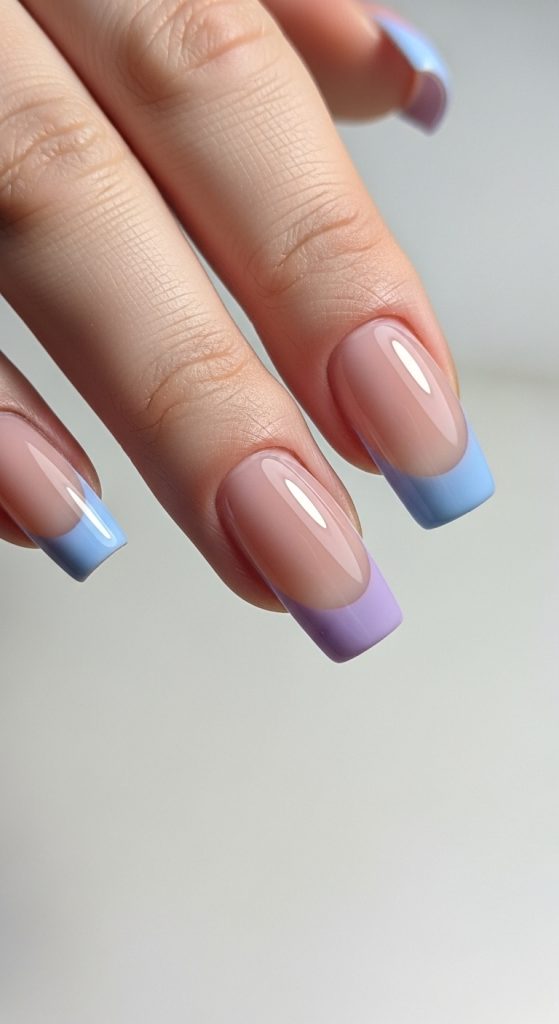
10 Purple and Blue Ombre Nails

Ombre nails have become a timeless trend in the beauty industry. They are elegant, versatile, and allow for endless creativity. Among the many color combinations, purple and blue ombre nails stand out because of their unique blend of calm, sophistication, and vibrancy. From pastel lavender merging into icy blue to deep indigo fading into violet, this combination is ideal for any occasion. This blog post will walk you through every aspect of creating perfect purple and blue ombre nails, from preparation to finishing touches.
1. Understanding Ombre Nails
Ombre nails are a nail art technique where two or more colors gradually blend into each other. The term “ombre” comes from the French word for shaded or shadowed, which perfectly describes this style. Unlike solid color nails, ombre nails offer depth and dimension, making them visually appealing. Purple and blue ombre nails are especially attractive because the cool tones naturally complement each other. The smooth transition can create effects ranging from subtle elegance to bold, statement-making designs. Understanding the gradient is essential because achieving a flawless ombre requires proper blending techniques. Professionals often use sponges, brushes, or airbrushing tools to create the fade. In this guide, you will learn how to get a seamless transition between purple and blue shades using easy-to-follow steps that even beginners can master with practice.

2. Materials Needed
Before starting, it is crucial to gather all necessary materials. For a perfect purple and blue ombre look, you will need: nail files, buffer blocks, cuticle pushers, base coat, top coat, purple and blue nail polishes in gradient-friendly shades, a makeup sponge or nail blending sponge, acetone or nail polish remover, cotton pads, and clean-up brushes. Optionally, nail primer or dehydrator can improve polish adhesion. Choosing high-quality polishes is vital because cheaper formulas may streak or fade unevenly. Additionally, having a dedicated work area with good lighting can improve accuracy. Each tool plays a role: the sponge helps blend colors seamlessly, the buffer ensures smooth surfaces, and the top coat locks in the gradient. Organizing these materials beforehand prevents mistakes and ensures a smoother application process. Proper preparation can also save time and reduce nail damage.

3. Nail Preparation
Proper nail preparation is the foundation of beautiful ombre nails. Begin by removing any old polish and thoroughly washing your hands to eliminate oils and dirt. Next, shape your nails with a file, selecting the style you prefer, such as square, oval, or almond. Gently push back cuticles using a cuticle pusher and trim excess skin carefully. Buff the surface lightly to remove shine, which helps polish adhere better. If your nails are prone to splitting or peeling, apply a nail dehydrator or primer. Clean the nails with acetone or polish remover one final time to ensure no residue remains. Well-prepped nails not only enhance polish longevity but also improve the smoothness of the ombre gradient. Skipping preparation can result in uneven blending, bubbles, or premature chipping. Taking 15 to 20 minutes to prepare your nails properly can make a significant difference in achieving a salon-quality result.
4. Choosing the Right Purple and Blue Shades
Selecting the right shades is crucial for a cohesive ombre look. Purple and blue come in countless tones, from pastel lavender to royal purple and sky blue to navy. Consider your skin tone and the occasion. For subtle, everyday nails, soft lavender blending into baby blue works beautifully. For a dramatic, evening-ready style, deep indigo transitioning into violet creates intensity. It is also important to consider polish opacity and formula; creamy, high-pigment polishes tend to blend more smoothly than sheer formulas. Test your chosen shades on a practice nail or sponge to see how well they blend. The transition should be gradual, avoiding harsh lines between colors. Proper shade selection can elevate the design from ordinary to eye-catching, ensuring your ombre nails look polished, professional, and visually stunning.

5. Applying the Base Coat
A base coat is essential for nail health and a smooth ombre application. It creates a protective layer, prevents staining from colored polish, and increases polish longevity. Apply a thin, even layer to each nail and let it dry completely. Using too thick a base coat can create bumps, interfering with the gradient effect. Choose a clear or lightly tinted base coat to provide an even canvas for the colors. Some base coats also strengthen nails, which is beneficial if you frequently wear colored polish. Taking time on this step ensures your ombre design looks smooth and professional while keeping nails healthy. A well-applied base coat can also prevent chips, meaning your purple and blue ombre nails will stay beautiful longer.
6. Creating the Ombre Effect
The ombre effect is created by blending two or more colors seamlessly. The most common method is the sponge technique. Apply strips of purple and blue polish onto a makeup sponge, slightly overlapping the colors. Dab the sponge gently onto your nail in a rolling motion, repeating until the colors blend smoothly. Multiple layers may be necessary to achieve the desired opacity. Ensure the polish dries slightly between layers to prevent smudging. Alternatively, some artists use a brush to feather the transition manually. Airbrush techniques offer a professional finish but require specialized tools. The key is patience and gradual blending. Rushing this step can lead to harsh lines or uneven colors. Mastering the ombre technique is central to achieving nails that look sophisticated and flawless.

7. Clean-Up and Finishing Touches
After applying the ombre, cleanup is essential for a polished look. Use a small brush dipped in acetone to remove excess polish from cuticles and nail edges. This step enhances precision and prevents the design from appearing messy. Additionally, allow nails to dry completely before applying the top coat. Any premature smudging can ruin the smooth gradient. Pay attention to uneven edges and refine the blend gently if necessary. Clean-up may seem tedious but ensures the nails look professional and clean, making the gradient appear seamless and well-defined. This step can elevate your DIY nails to a salon-quality result.

8. Applying the Top Coat
A top coat seals the ombre design, adds shine, and increases durability. Apply a thin, even layer to each nail after the ombre colors are completely dry. Gel or regular polish top coats both work; gel top coats typically last longer and offer a glossier finish. The top coat also smooths the surface, further blending the colors visually. Avoid heavy layers, which can create bubbles or streaks. Allow the top coat to dry fully, and if using a gel top coat, cure under a UV or LED lamp as directed. Regular top coats can be reapplied every few days to maintain the look. A well-applied top coat ensures the purple and blue ombre nails stay vibrant, glossy, and chip-resistant.

9. Nail Care After Ombre
Maintaining ombre nails requires proper aftercare. Moisturize cuticles regularly with cuticle oil to prevent dryness and peeling. Avoid using nails as tools, which can damage polish and weaken the nail. Wear gloves during household chores to protect the design from harsh chemicals. If polish chips, perform touch-ups immediately to maintain a clean appearance. Regularly applying a thin top coat every few days extends the life of your ombre nails. Proper care ensures the gradient remains vibrant and smooth, keeping your nails looking fresh for longer. Healthy nail habits also prevent staining and promote natural nail strength.
10. Creative Variations and Ideas
Purple and blue ombre nails can be customized in countless ways. Adding glitter to the transition creates a sparkling effect, while incorporating nail decals or rhinestones adds dimension. You can experiment with different gradient directions, such as vertical ombre or diagonal patterns, for a unique twist. Mixing metallic or iridescent shades with purple and blue creates a futuristic look. Seasonal variations, like icy blues for winter or lavender for spring, allow your nails to reflect the mood or event. Exploring creative variations ensures your ombre nails remain fresh and expressive, making your manicure a true personal statement. Experimentation is key to finding a style that resonates with your personality and enhances your overall look.