10 Air Dry Clay Bunny ideas
Air dry clay is one of the most beginner friendly crafting materials available today. Unlike traditional clay, it does not require a kiln or oven to harden. It simply dries naturally in the air, making it perfect for home crafting, school projects, and DIY decorations. Because it is soft, easy to shape, and widely available, air dry clay is an excellent material for creating small decorative figures such as animals, ornaments, and seasonal crafts.
Among the many animal figures you can make, bunnies are especially popular. Their simple shapes, long ears, and cute expressions make them ideal for both beginners and experienced crafters. Air dry clay bunnies can be used as home decorations, Easter crafts, desk ornaments, gift toppers, plant pot decorations, or handmade gifts.

Before starting any clay project, it is important to prepare the right materials and understand a few basic techniques. Common materials include air dry clay, sculpting tools, a rolling pin, acrylic paints, brushes, water for smoothing surfaces, and a protective work mat. Some crafters also use toothpicks or wire for extra support in delicate parts like ears.
In this guide, you will learn ten creative air dry clay bunny ideas. Each project includes preparation tips, required materials, and helpful crafting techniques so you can confidently create your own adorable clay bunnies.
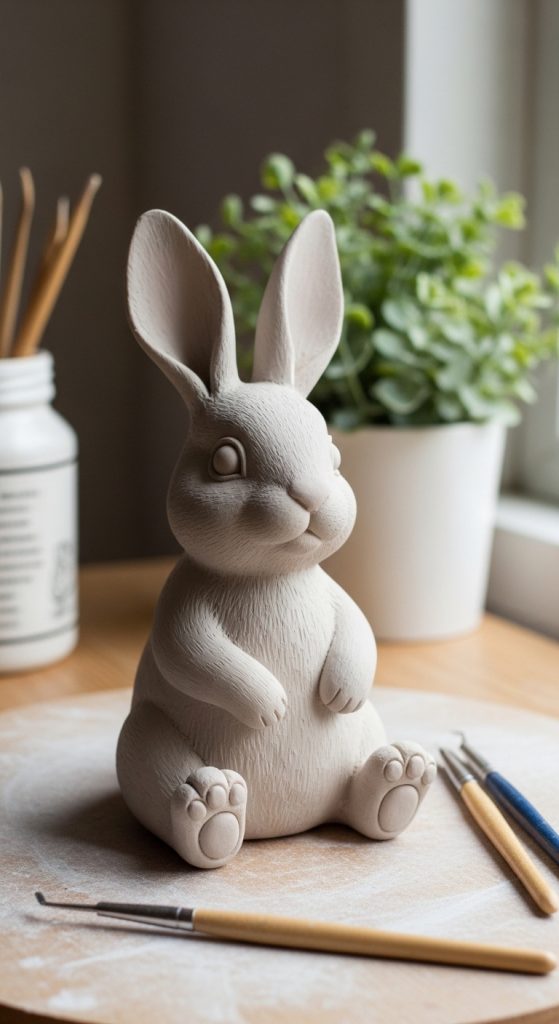
1. Classic Sitting Bunny
The classic sitting bunny is one of the easiest and most popular air dry clay projects. It is a great starting point for beginners because it uses simple shapes and basic sculpting techniques.
Materials needed include air dry clay, sculpting tools, a toothpick, water for smoothing, acrylic paints, and paintbrushes. Begin by kneading the clay until it becomes soft and smooth. This step removes air bubbles and makes the clay easier to shape.
Start by forming a medium sized oval shape for the bunny’s body. Then create a small round ball for the head. Attach the head to the body by gently pressing it in place and using a toothpick for support if needed. Smooth the connection using a little water and your fingers.
Next, roll two small clay cylinders for the front paws and attach them to the front of the body. For the ears, roll two long oval shapes and gently flatten them. Attach them to the top of the head and slightly bend them for a natural look.
Allow the sculpture to dry for 24 to 48 hours depending on thickness. Once fully dry, paint the bunny using soft colors such as white, beige, gray, or pastel shades. Add small details like eyes, nose, and whiskers using a thin brush.
This simple sitting bunny can be displayed on shelves, desks, or used as part of seasonal decorations.
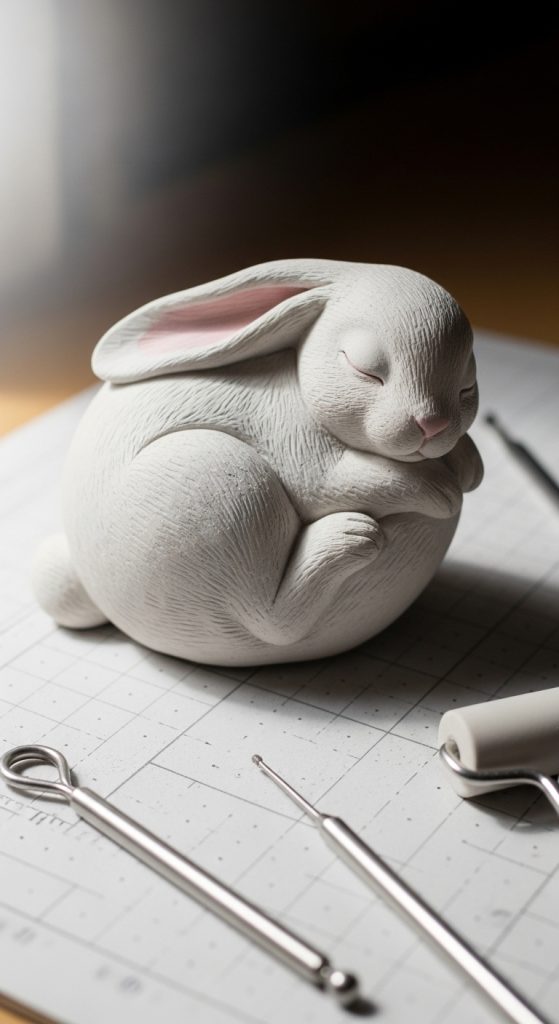
2. Sleeping Bunny
A sleeping bunny sculpture creates a calm and peaceful decorative piece. This design focuses on soft curves and relaxed shapes, making it a soothing project to sculpt.
To begin, prepare air dry clay, sculpting tools, a work mat, water, acrylic paints, and fine brushes. Knead the clay thoroughly before shaping.
Start by creating a rounded oval shape for the bunny’s body. This will represent the curled up position of the sleeping rabbit. Slightly flatten the bottom so the sculpture sits steadily on a surface.
Next, create a small rounded shape for the head and attach it to the body as if the bunny is resting its head down. Use your fingers or sculpting tools to gently blend the connection.
For the ears, roll two small flattened shapes and place them along the back of the head, following the curve of the body. Sleeping bunnies usually have relaxed ears lying down rather than standing upright.
Use a sculpting tool to gently mark closed eyes and a tiny nose. Avoid deep cuts, as subtle lines create a more natural appearance.
Let the sculpture dry slowly in a well ventilated area. After it hardens, paint the bunny in soft neutral colors such as cream, light gray, or pale brown. You can also add gentle shading around the ears and body.
This sleeping bunny design works beautifully as a calming desk decoration or bedroom ornament.
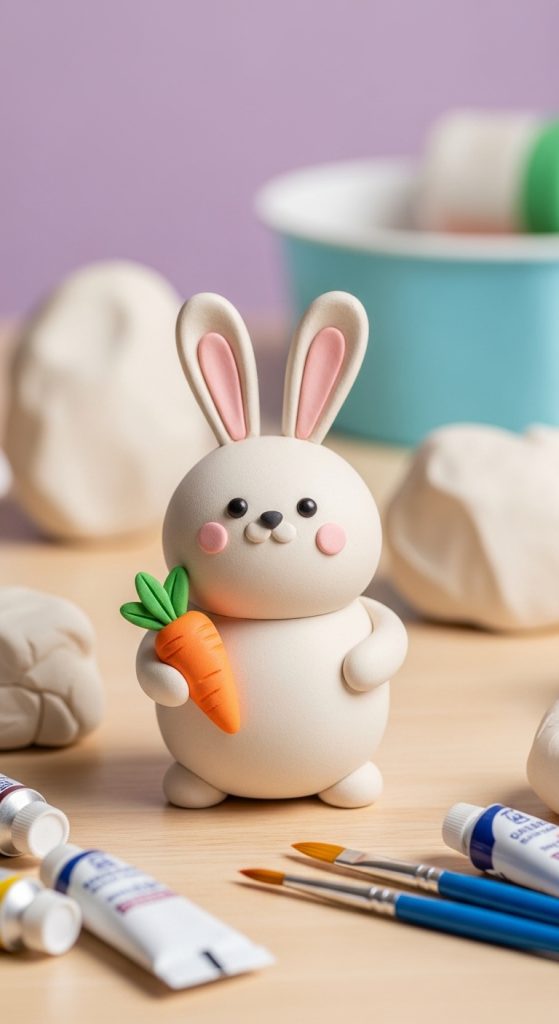
3. Bunny Holding a Carrot
A bunny holding a carrot is a playful and charming craft project. It is especially popular for spring and Easter themed decorations.
Prepare air dry clay, sculpting tools, acrylic paints, brushes, and toothpicks. Begin by kneading the clay to achieve a smooth texture.
Create the bunny’s body using an oval shape. Then make a round ball for the head and attach it securely to the body. Add two small rounded shapes for the feet at the bottom of the body.
Next, roll two thin cylinders for the arms and position them so they appear to hold an object in front of the bunny.
For the carrot, roll a cone shape using orange clay or plain clay that will be painted later. Add small line textures to represent the carrot’s surface. Create tiny leaf shapes for the top using green clay.
Place the carrot between the bunny’s arms and gently press the arms around it to secure the position.
Add long ears to the top of the head and small indentations for eyes and nose. Allow the sculpture to dry completely before painting.
Once dry, paint the bunny in soft tones and color the carrot bright orange with green leaves. This fun design makes a perfect decorative item for seasonal displays.
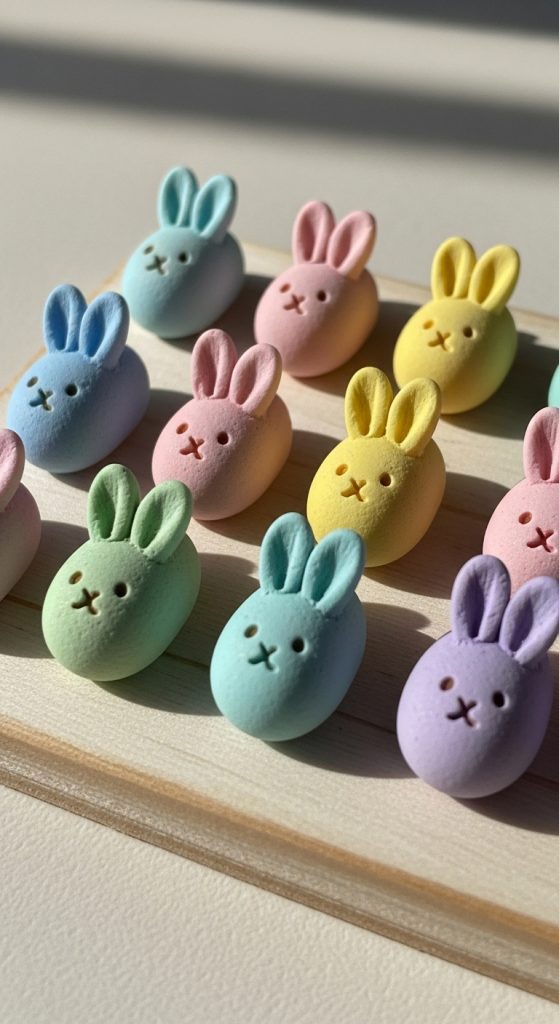
4. Mini Bunny Figurines
Mini bunny figurines are small decorative pieces that can be used for gift boxes, fairy gardens, or miniature displays.
To create these tiny sculptures, prepare air dry clay, small sculpting tools, water, and acrylic paints. Because the pieces are small, working slowly and carefully is important.
Start by rolling a tiny ball of clay for the bunny’s body. Slightly stretch the ball into a small oval. Then create a smaller ball for the head and attach it to the body.
For the ears, roll two very thin pieces of clay and attach them to the head. Because these ears are delicate, handle them gently and support them while attaching.
Use a toothpick or needle tool to add small details such as eyes, nose, and fur texture. Since these figurines are miniature, keep the design simple.
Let the figurines dry on a flat surface. Because they are small, they usually dry faster than larger sculptures.
Once dry, paint them in various colors to create a collection of tiny bunnies. Some can be white, brown, gray, or even pastel shades.
Mini bunny figurines are ideal for decorating plant pots, dollhouses, or handmade gift sets.
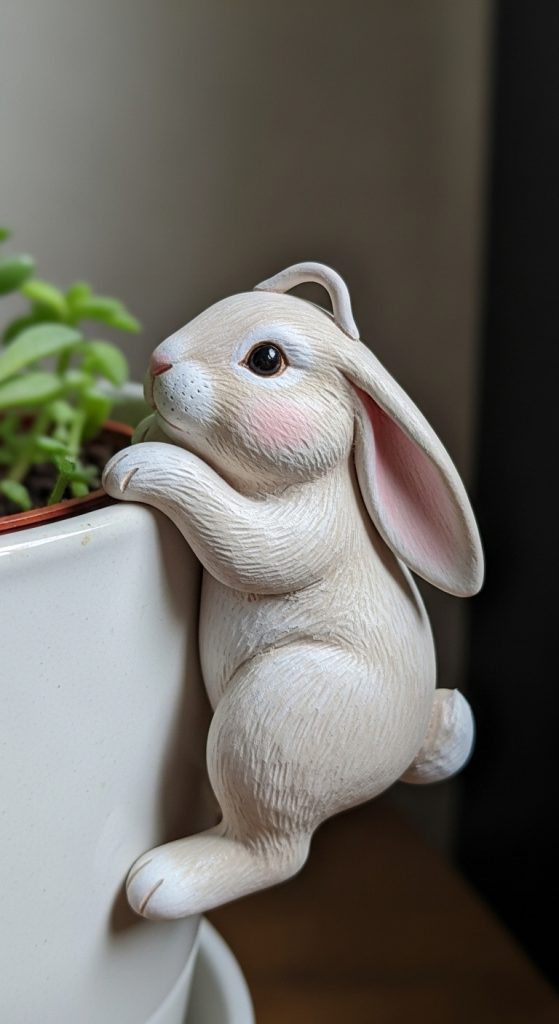
5. Bunny Plant Pot Decoration
A bunny plant pot decoration adds a charming handmade touch to indoor plants and garden pots.
Begin by preparing air dry clay, sculpting tools, a rolling pin, water, and acrylic paints. Knead the clay well before shaping.
Create a small bunny figure similar to a sitting bunny design, but slightly flatten the back of the sculpture. This flat surface will allow the bunny to attach securely to the edge of a pot.
Shape the body and head first. Then add paws that appear to rest over the edge of the pot. The paws can be gently curved downward for a natural look.
Create long ears and position them slightly backward to avoid breakage. Smooth all surfaces using a little water.
Before the clay fully dries, gently place the bunny on the rim of the plant pot to ensure it fits properly. Remove it carefully and allow it to dry completely.
After drying, paint the bunny using weather resistant acrylic paint if the pot will be used outdoors.
This adorable decoration makes houseplants feel more lively and personalized.
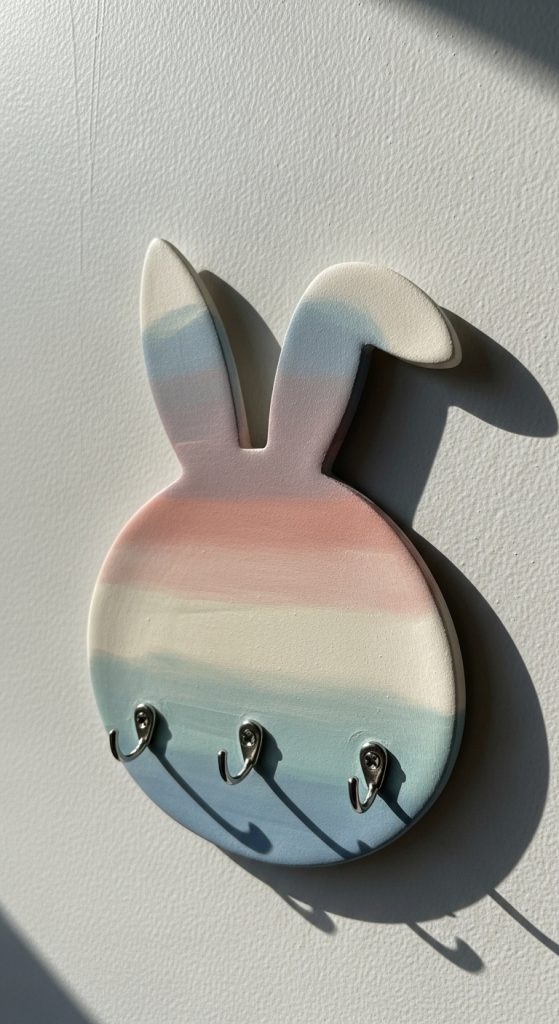
6. Bunny Key Holder
A bunny shaped key holder combines creativity with functionality. It can be mounted on a wall near the entrance to hold keys.
Materials include air dry clay, sculpting tools, a rolling pin, key hooks, strong adhesive, acrylic paints, and brushes.
Roll the clay into a flat slab about half an inch thick. Cut or shape the slab into a bunny silhouette with a rounded body and long ears.
Smooth the edges carefully with water and sculpting tools. Add small facial features and light texture if desired.
Before the clay dries completely, mark spots where the key hooks will be attached later. This helps with accurate placement.
Allow the piece to dry thoroughly for several days to ensure strength. Once dry, paint the bunny with decorative patterns or simple neutral colors.
Attach metal hooks using strong adhesive or small screws depending on the thickness of the clay.
Mount the finished bunny key holder on a wall using wall hooks or mounting strips.
This project is practical and decorative at the same time.
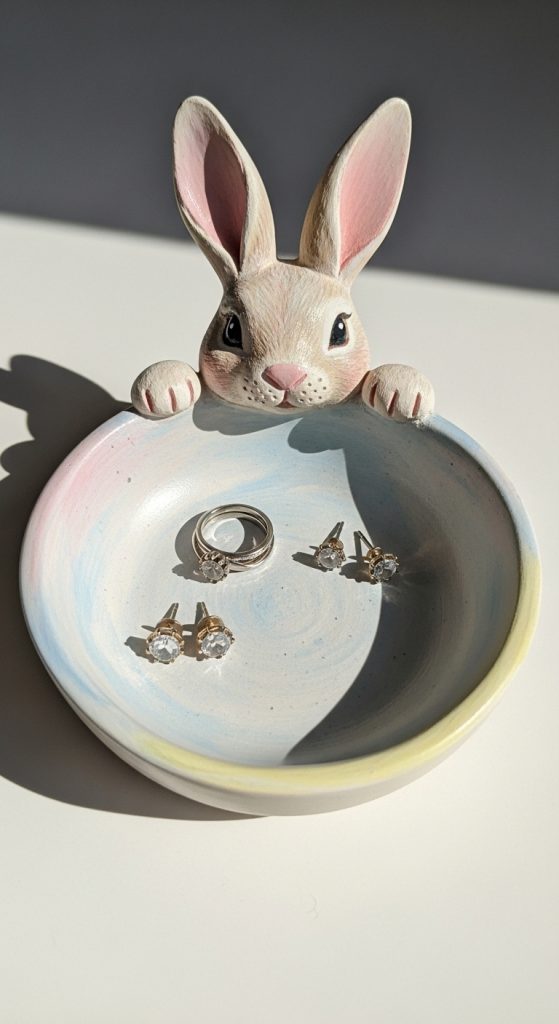
7. Bunny Jewelry Dish
A bunny jewelry dish is a useful craft that can hold rings, earrings, and small accessories.
Prepare air dry clay, a rolling pin, sculpting tools, water, acrylic paints, and a small bowl for shaping.
Roll the clay into a flat sheet about one quarter inch thick. Cut a circular shape large enough to form a dish.
Place the clay circle over the bottom of a bowl to create a shallow dish shape. Smooth the edges gently.
Next, sculpt a small bunny head with two ears. Attach this piece to the rim of the dish so it appears as if the bunny is peeking over the edge.
Blend the attachment carefully and smooth all surfaces. Allow the entire piece to dry slowly to prevent cracks.
Once dry, paint the dish with soft colors or patterns. A protective clear sealant can also be applied to improve durability.
This bunny jewelry dish is perfect for bedside tables or dressing tables.
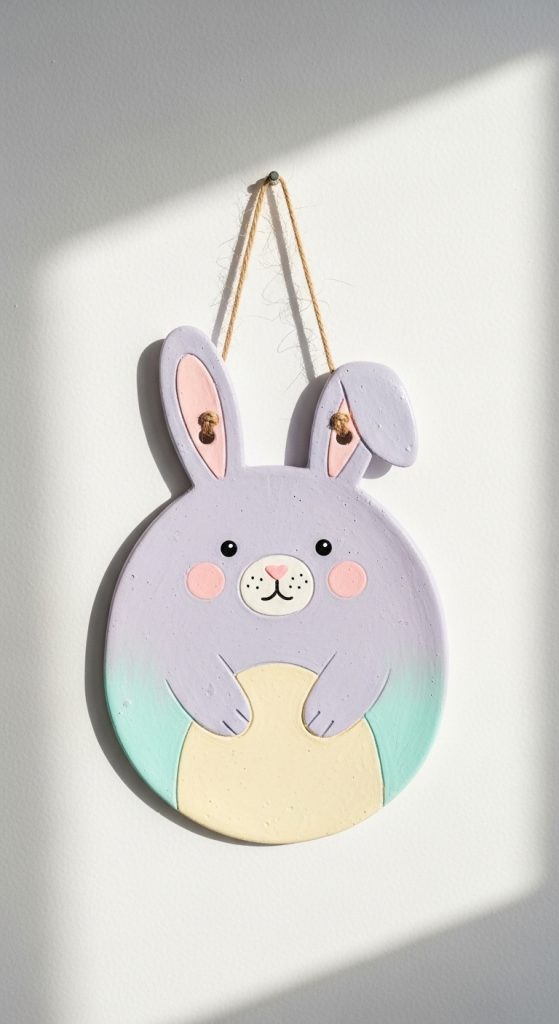
8. Bunny Wall Hanging
A bunny wall hanging can be used as seasonal decoration or part of a handmade gallery wall.
Start with air dry clay, a rolling pin, sculpting tools, string, and acrylic paints.
Roll the clay into a flat slab and cut a bunny shape using a craft knife or template. Smooth all edges carefully.
Add simple facial details or light texture. Before the clay dries, create two small holes near the top of the bunny’s ears for hanging.
Allow the clay to dry completely on a flat surface to avoid bending.
After drying, paint the bunny in decorative colors or patterns. Thread a piece of string or ribbon through the holes to create a hanger.
This lightweight wall decoration works well in children’s rooms, craft spaces, or seasonal displays.
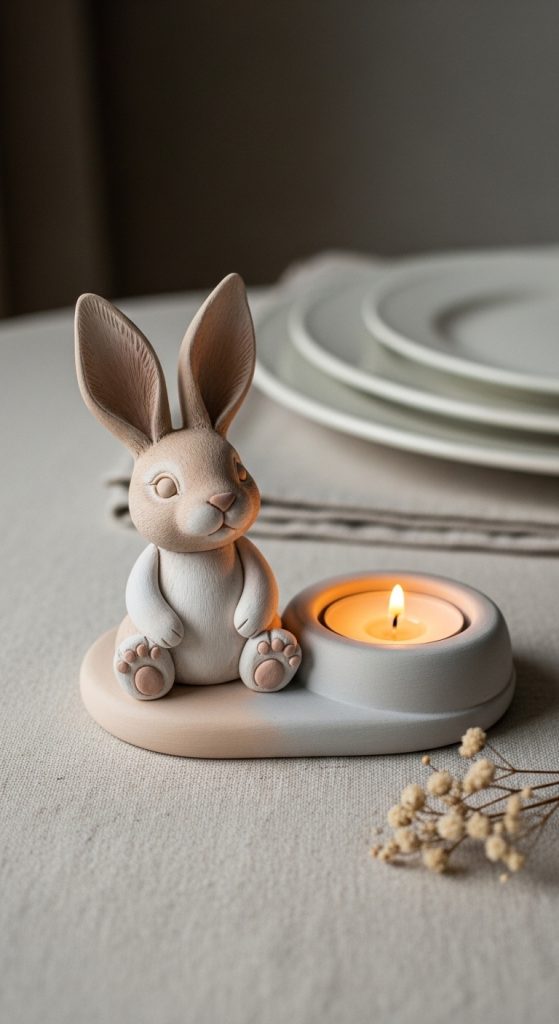
9. Bunny Candle Holder
A bunny candle holder is a decorative craft suitable for tea light candles.
Prepare air dry clay, sculpting tools, a tea light candle for sizing, water, and acrylic paints.
Create a round base by shaping a thick disk of clay. Press the tea light candle gently into the center to mark the correct size, then remove it.
Next, sculpt a small bunny sitting beside the candle space. Attach the bunny securely to the base and smooth the connection.
Add ears, paws, and facial features carefully. Make sure the candle space remains clear and correctly sized.
Allow the sculpture to dry completely before painting. Use neutral or natural colors to keep the design elegant.
Always remove the candle before painting or sealing the clay.
This bunny candle holder can add a cozy decorative touch to tables or shelves.
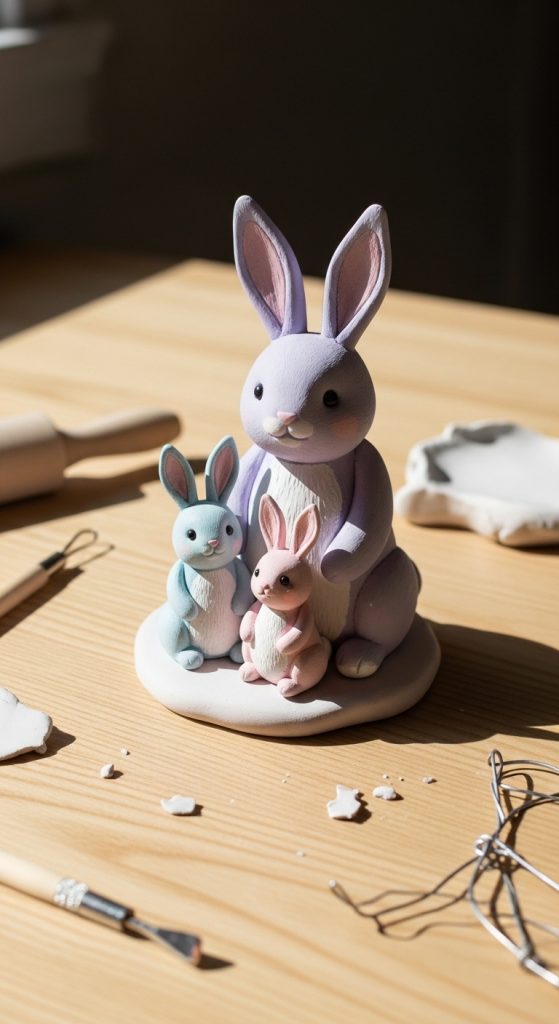
10. Bunny Family Sculpture
A bunny family sculpture is a meaningful project that represents connection and creativity.
Prepare air dry clay, sculpting tools, water, acrylic paints, and brushes.
Begin by creating a larger bunny figure to represent the parent. Use oval shapes for the body and round shapes for the head. Add long ears and simple facial features.
Next, create smaller bunny figures using the same method. Arrange them close to the larger bunny to create a family scene.
Attach the figures together on a shared clay base so the sculpture remains stable.
Smooth all connections and allow the piece to dry slowly to avoid cracks.
Once dry, paint the bunnies in complementary colors. Some crafters choose natural rabbit colors, while others prefer soft pastel shades.
This sculpture can symbolize family, friendship, or love and makes a thoughtful handmade gift.