Tissue paper flowers are a simple, affordable, and beautiful way to add a personal touch to your home décor, parties, and events. Unlike real flowers, tissue paper flowers last indefinitely, allowing you to enjoy their beauty without worrying about wilting or maintenance. They are also highly customizable—you can mix colors, shapes, and sizes to suit any occasion. From birthday parties and weddings to seasonal decorations and classroom projects, tissue paper flowers can bring charm and creativity wherever they are used. Making tissue paper flowers is a fun activity for both adults and children, offering an opportunity to practice patience, fine motor skills, and artistic expression.
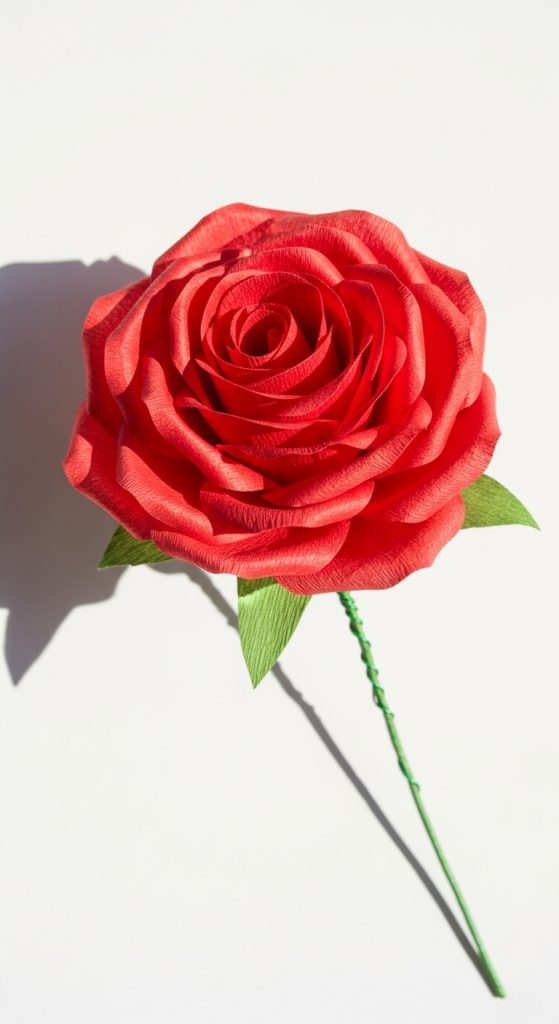
In this blog post, we will explore 10 creative DIY tissue paper flower ideas. For each flower type, we will provide a detailed list of materials, step-by-step instructions, and helpful tips to make your crafting process easier. Whether you are a beginner or an experienced crafter, these ideas will inspire you to transform simple sheets of tissue paper into stunning floral decorations. By the end of this post, you will have a collection of flowers that can brighten up any space, celebrate special occasions, or even serve as thoughtful handmade gifts.
1. Classic Tissue Paper Rose
Materials: Tissue paper in your preferred color, green floral wire, scissors, and tape.
Start by cutting five or six squares of tissue paper, each around 5×5 inches. Stack them neatly and fold them accordion-style with folds about one inch wide. Once folded, secure the center with a small piece of floral wire, twisting it tightly to hold the paper in place. Gently pull each layer of tissue paper upwards and outwards to form petals, shaping them to resemble a blooming rose. Adjust the petals until you achieve a natural look.
For the stem, wrap the floral wire with green floral tape, starting from the base of the flower and moving down to cover the entire wire. You can make multiple roses in different colors and sizes to create a bouquet. These roses are ideal for table centerpieces, gift toppers, or wall decorations. The key to a realistic look is to carefully shape each petal and make the folds slightly uneven, which mimics the natural imperfections of a real rose.