
10 Handmade Clay Ring Trays
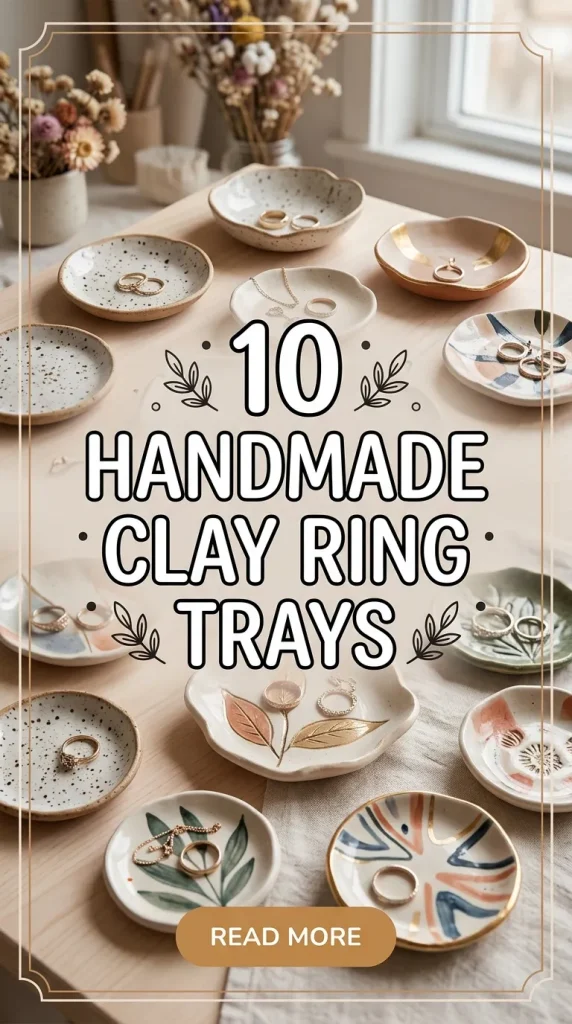
Handmade clay ring trays have become a popular craft choice for those who appreciate the beauty of personalized decor. These small functional pieces offer a designated place for storing rings and small jewellery while adding a decorative touch to dressers, vanities, or bedside tables. The joy of creating a clay ring tray lies in the ability to shape your own style through patterns, color choices, textures, and finishing techniques. Clay is a versatile medium, allowing beginners and experienced crafters to explore an endless range of artistic expressions. Whether you prefer simple minimalist trays or highly detailed designs, the process of making these trays offers both relaxation and creativity.
Before diving into the specific ideas, it is important to prepare the right materials. Most handmade ring trays use air dry clay because it is easy to work with and does not require a kiln. Other materials include sculpting tools, a rolling pin, sandpaper, acrylic paints, a sealer, and optional decorative elements such as gold leaf or pressed flowers. Using a smooth surface and keeping the clay moist as you work ensures a clean finish. Once your tray is shaped, allow proper drying time before painting or sealing to prevent cracking. This blog explores ten detailed handmade clay ring tray ideas, each explained to help you create beautiful and functional pieces for your home or gifting needs.
1 Minimalist Round Clay Ring Tray
A minimalist round clay ring tray is ideal for those who appreciate simplicity and elegance. This design focuses on clean lines and a smooth shape that suits modern and neutral decor styles. Begin by preparing a ball of air dry clay and rolling it into an even slab. Use a round cutter, lid, or bowl to trace a perfect circle. Gently pinch the edges upward to create a shallow dish shape. The key to a minimalist design is achieving a smooth and even surface, so take time to refine the edges with your fingers or a sculpting tool. Once shaped, allow the tray to dry completely before sanding to remove imperfections. Sanding with fine grit paper helps achieve a polished appearance. When dry, paint the tray in a single subtle color such as white, beige, or grey, or leave the natural clay exposed for an organic look. A thin layer of matte or satin sealer protects the surface from scratches. This minimalist tray suits any interior, making it an excellent gift or desk accessory.

2 Marbled Clay Ring Dish
A marbled clay ring dish offers a sophisticated look that mimics natural stone patterns. To create the marbled effect, mix two or more clay colors together without fully blending them. Start by rolling thin ropes of each color and twisting them together, then roll the combined clay into a smooth slab. The marbled patterns will appear naturally throughout the clay. Use a circular cutter or form the shape by hand. Mold the edges upward to form a shallow dish shape. Because marbled trays rely on visual texture, avoid overworking the clay as this can cause the colors to blend into a single tone. Once shaped, allow the tray to air dry completely. After drying, lightly sand any uneven spots while maintaining the marbled pattern. You can add metallic accents along the edges using acrylic paint or leave the design natural for a stone like finish. Apply a clear sealer to protect the colors and provide durability. This marbled tray is an eye catching piece ideal for modern interiors and elegant dressing tables.

3 Floral Imprint Clay Tray
A floral imprint clay tray brings the charm of nature into your home. This design is perfect for those who enjoy botanical themes and handmade details. Start by choosing small flowers or leaves with clear textures. Press them gently into rolled out clay to create natural imprints. You can arrange the botanical pieces in a pattern or place them randomly for a more organic effect. Once the imprint is made, carefully remove the flowers or leaves and cut the clay into your preferred shape such as round, oval, or organic free form. Form the edges by lifting them slightly to create a dish. Allow the tray to dry thoroughly. When the clay hardens, enhance the botanical patterns with light paint washes or highlight specific details using a fine brush and contrasting color. Some crafters prefer leaving the imprints unpainted for a raw natural look. Finish the tray with a protective sealer. Floral imprint trays make thoughtful handmade gifts and offer a calm nature inspired aesthetic.

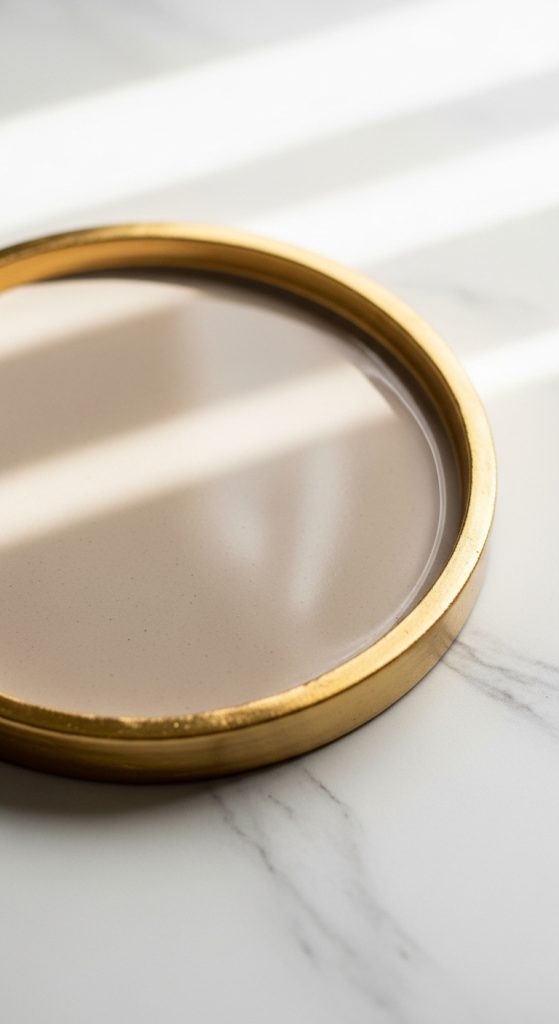
4 Gold Rim Luxury Ring Tray
A gold rim luxury ring tray adds a touch of elegance and sophistication to your accessories display. Begin by shaping a simple clay tray in your desired form, whether round or square. To achieve a refined look, smooth the surface thoroughly and make sure the edges are even. Once the tray is shaped, allow it to air dry completely. Sand the edges lightly to ensure clean lines. After drying, paint the tray with a soft neutral color such as ivory, blush, or grey. Once the paint dries, apply metallic gold acrylic paint along the edges using a thin brush. The gold rim provides a luxurious contrast and elevates the overall look. If you prefer a more dramatic design, extend the gold detailing into the interior or add delicate geometric lines. After decorating, apply a glossy or satin sealer to enhance the shine and protect the finish. This gold rim tray fits well in modern glam interiors and serves as a beautiful statement piece for storing jewellery.
5 Geometric Pattern Tray
A geometric pattern tray is an excellent project for crafters who enjoy precision and modern design elements. Begin by preparing a flat slab of clay and cutting it into a simple shape such as a hexagon, square, or rectangle. Gently lift the edges to form the tray shape. Once the base is shaped, use sculpting tools or a ruler to create geometric impressions such as lines, triangles, or zigzag patterns. You can press the patterns lightly for subtle texture or carve deeper grooves for a bold effect. After shaping and detailing, let the tray dry fully so the pattern does not warp. Sand the surface carefully without erasing the geometric designs. When ready to paint, choose contrasting colors to highlight the shapes. Black and white combinations work well for a modern aesthetic, while soft neutrals provide a more subtle appearance. Finish with a protective top coat to preserve the patterns. This geometric tray adds structure and style to minimalistic interiors.

6 Terracotta Inspired Clay Tray
A terracotta inspired clay tray brings warmth and rustic charm to home decor. Although traditional terracotta requires kiln firing, you can recreate the earthy look using air dry clay and terracotta toned paint. Begin by rolling out the clay and shaping it into a simple round or oval tray. Keep the edges slightly uneven to achieve the natural handcrafted feel. Add light texture using a sponge or cloth to imitate the porous surface of real terracotta. Allow the tray to dry completely before painting. Select a warm terracotta shade and apply even layers of paint, letting each coat dry thoroughly. To enhance authenticity, use multiple shades such as burnt orange or sandy beige and blend them gently. Leave the interior smooth while giving the edges a lightly weathered appearance. Seal the tray with a matte finish to maintain the rustic texture. Terracotta inspired trays fit well in bohemian, farmhouse, and earthy styled interiors.

7 Speckled Ceramic Look Tray
A speckled ceramic look tray is perfect for those who admire simple handcrafted ceramics. Start with a smooth clay slab shaped into a round or oval dish. Once formed, let the tray dry fully and sand it until the surface becomes smooth. Paint the tray in a soft neutral shade such as ivory or pale grey. To create the speckled effect, thin down dark or contrasting paint with water and lightly splatter it onto the tray using a brush. The droplets form small specks resembling handmade pottery. Experiment with different speckle sizes by adjusting the paint thickness or tapping the brush with different force. After the speckles dry, apply a glossy sealer to mimic the finish of glazed ceramics. The result is a simple yet refined tray suitable for Scandinavian or minimalist decor themes. This technique is highly customizable and easy for beginners to master.

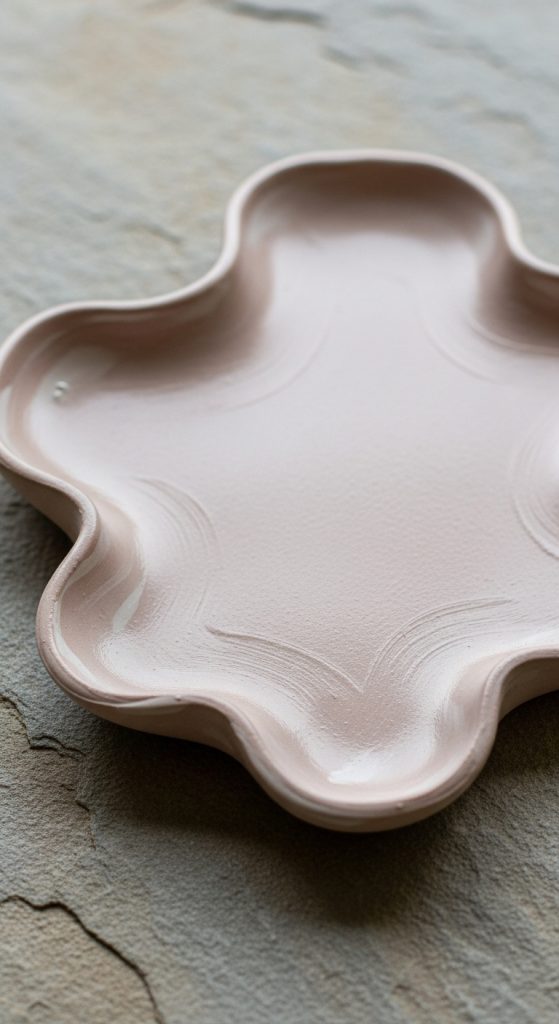
8 Organic Wavy Edge Tray
An organic wavy edge tray celebrates imperfect natural forms. This design is ideal for those who enjoy soft flowing shapes and a handcrafted aesthetic. Begin by rolling out the clay and cutting it into a loose free form shape rather than a perfect circle. Use your fingers to pinch and shape the edges into gentle waves. Avoid symmetry to maintain the natural look. The irregular edges add charm and individuality to each piece. Once shaped, let the tray dry thoroughly. Sand the surface lightly while preserving the organic form. Painting can vary from solid neutral colors to hand blended watercolor effects. Many crafters prefer a soft muted palette to highlight the tray’s natural curves. For added character, consider adding subtle brush strokes or edge highlights. Seal the tray with a matte or satin finish. The organic wavy edge tray works beautifully in modern, boho, and nature inspired spaces.
9 Pressed Leaf Texture Tray
A pressed leaf texture tray combines natural patterns with handcrafted artistry. Begin by collecting leaves with strong vein structures such as fern, eucalyptus, or maple leaves. Roll out your clay and place the leaf on top, pressing down firmly with a rolling pin. This transfers the texture onto the surface in beautiful detail. Once you remove the leaf, cut the clay into your preferred shape and form the edges gently. Allow the tray to dry completely. Sand lightly, avoiding the raised texture so it remains visible. To enhance the leaf patterns, apply a thin layer of watered down paint or use a dry brushing technique to highlight the raised areas. Natural colors such as greens, browns, or muted golds complement the design. Seal the tray to preserve the details. This pressed leaf texture tray is ideal for nature lovers and adds an earthy decorative element to any space.

10 Personalized Initial Clay Ring Tray
A personalized initial clay ring tray is an excellent handmade gift idea. Start with shaping a simple tray such as a circle or heart. Make sure the surface is smooth so the initial stands out clearly. Once shaped, allow the tray to dry until firm enough to carve. Use sculpting tools to carefully carve the initial or use letter stamps to press the design into the clay. You can also add small decorative borders or minimalist patterns around the initial. After drying completely, sand lightly to refine the surface. Painting can be customized based on the recipient’s preferences. Choose elegant colors such as white, soft pink, navy, or gold accents. Highlight the carved initial with metallic or contrasting paint to make it stand out. Finish with a protective sealer. Personalized initial trays make meaningful gifts for birthdays, weddings, or anniversaries and offer a sentimental touch to jewellery storage.
